
Photos of Our Lewisville Community
Experience the comfort and style of Brighton Place through our captivating photo gallery. Contact our professional leasing team and find your new home with us in our Lewisville, TX apartment community.
.jpg)

.jpg)
.jpg)
.jpg)
.jpg)
.jpg)
.jpg)
.jpg)
.jpg)
.jpg)
.jpg)
.jpg)
.jpg)
.jpg)
.jpg)
.jpg)

Experience Comfort and Style at Brighton Place
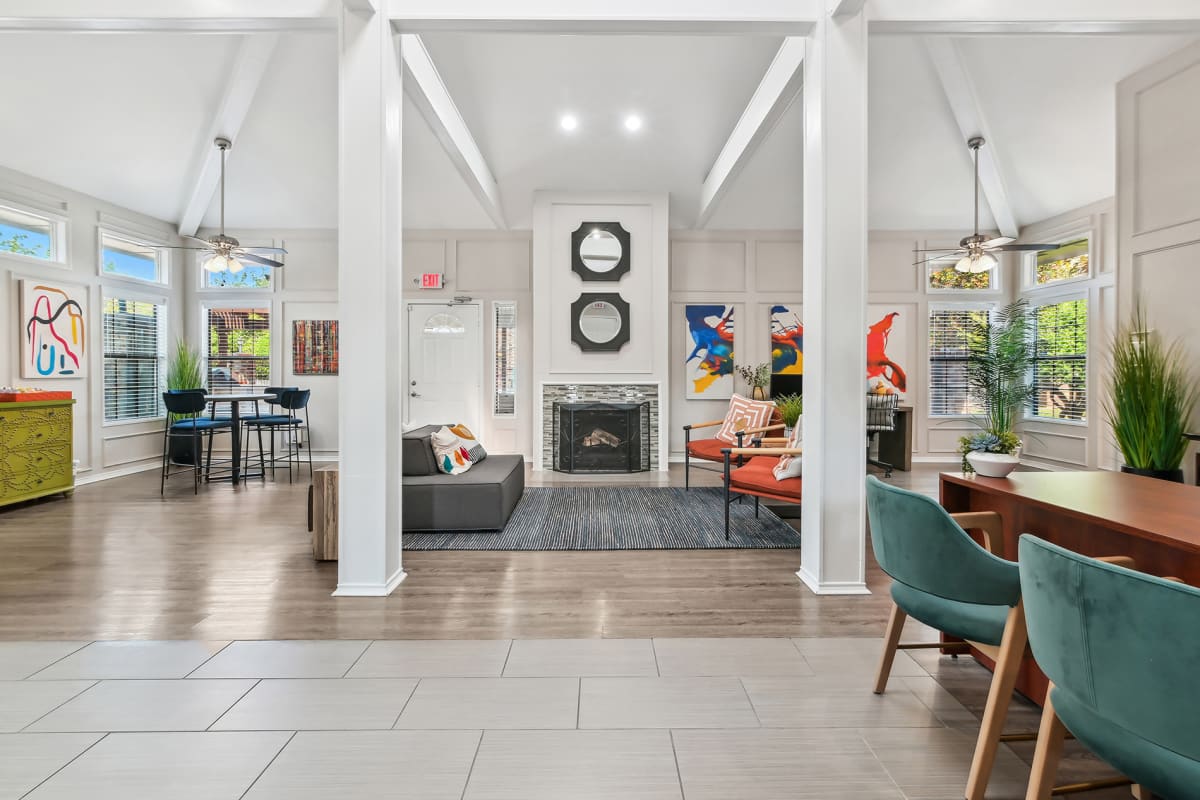
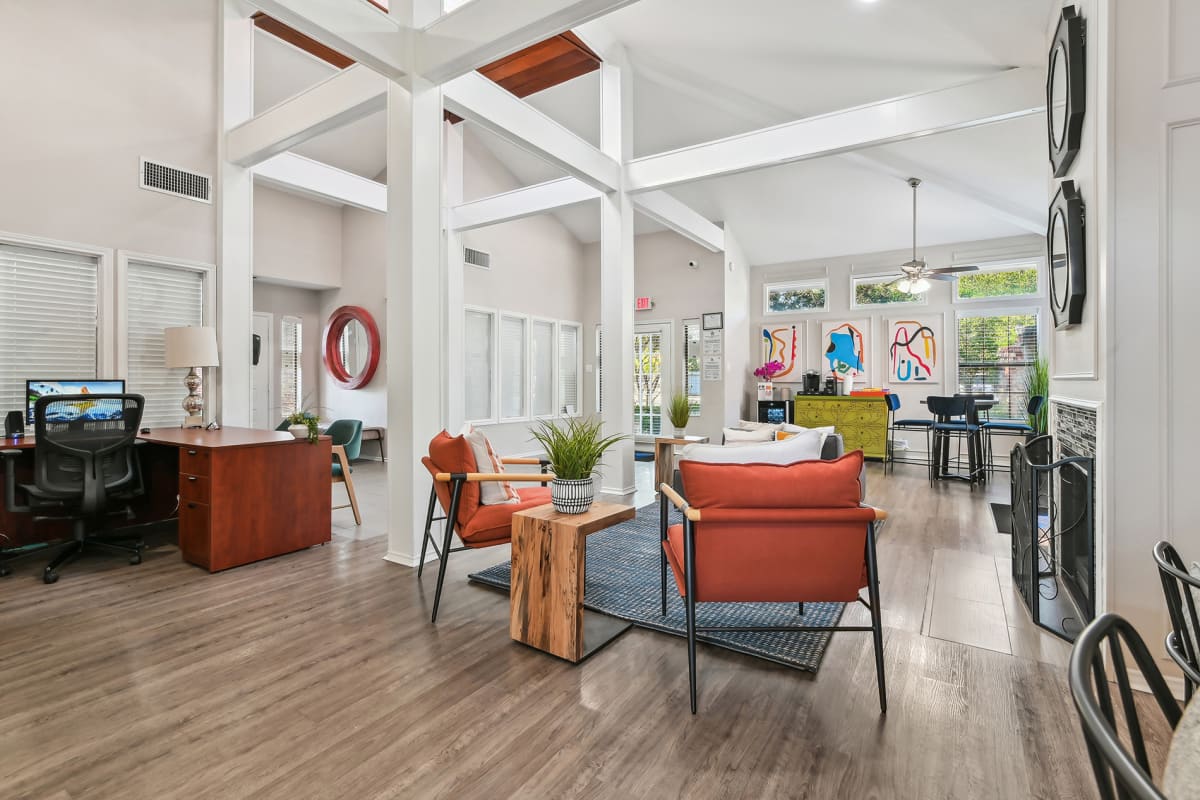
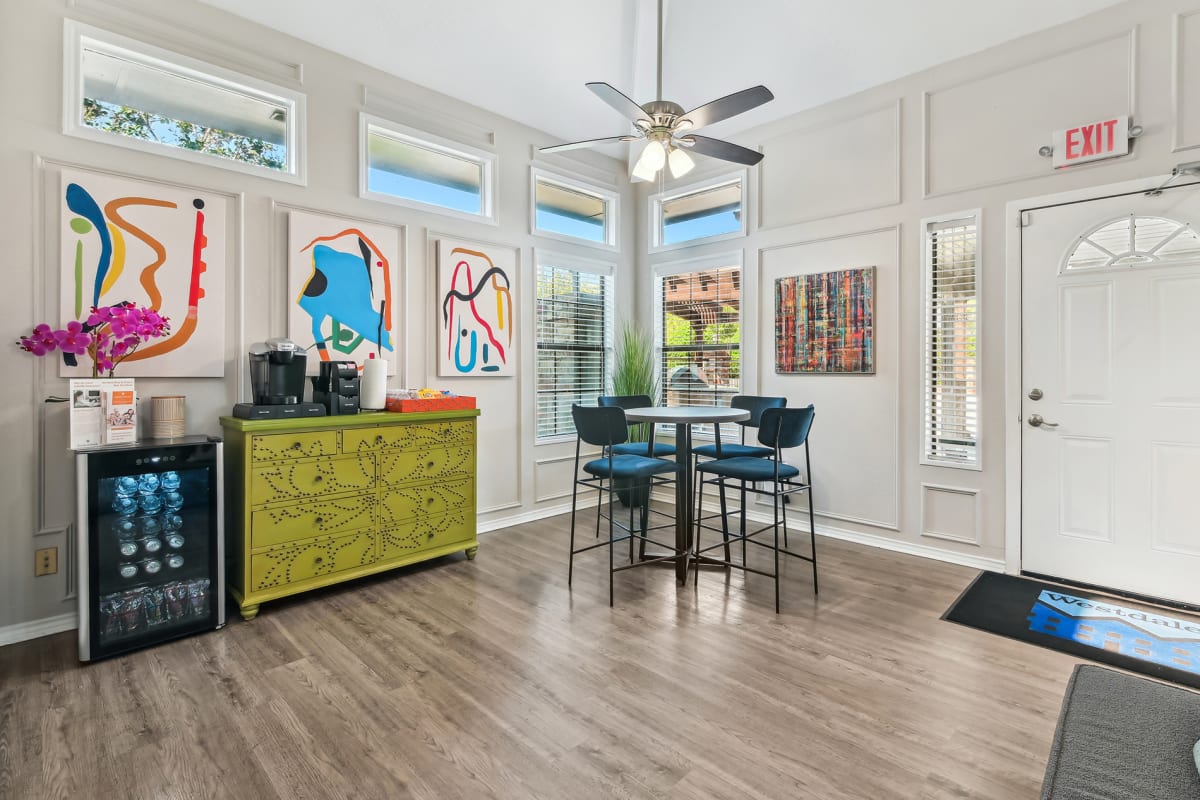
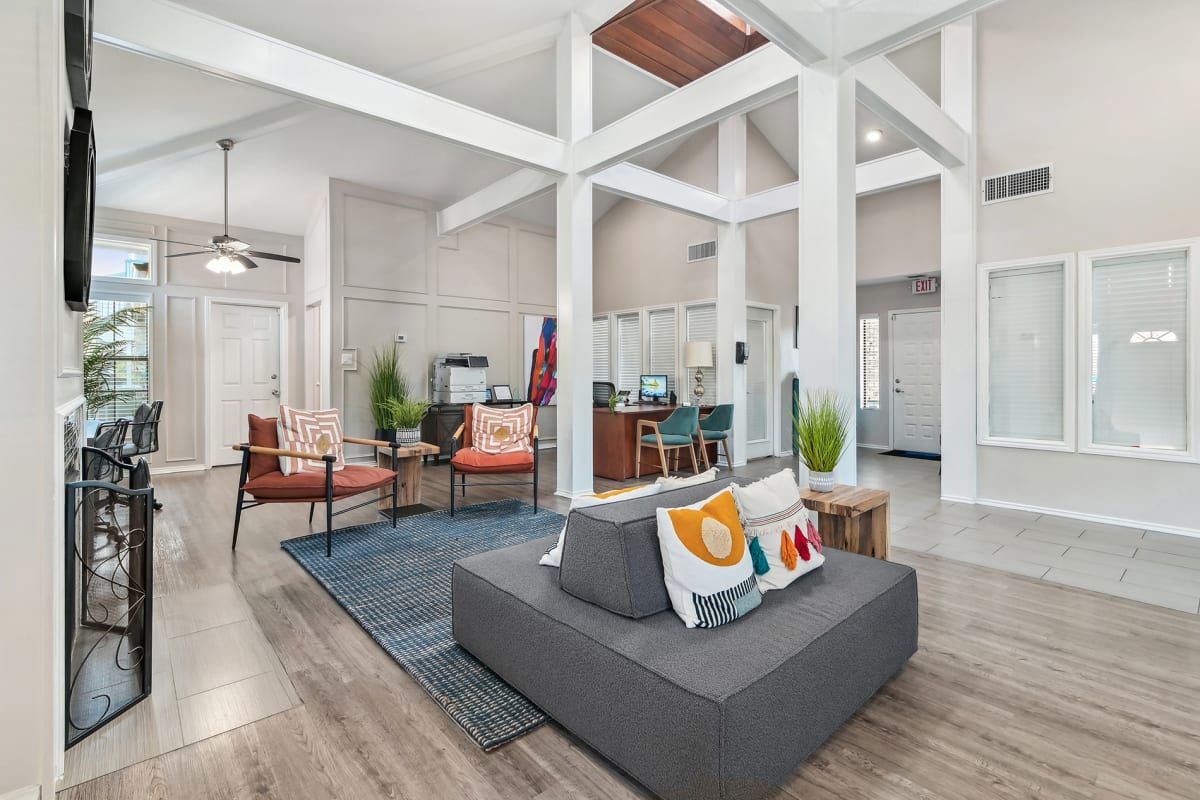
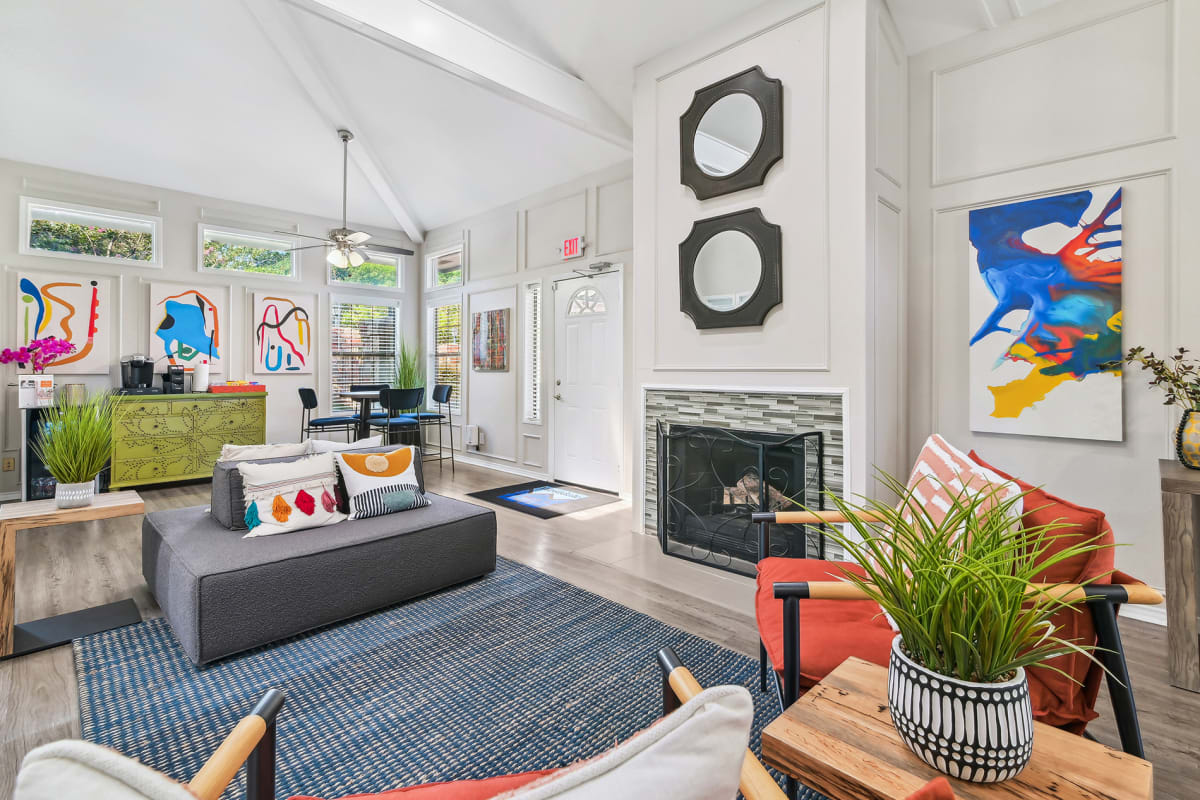
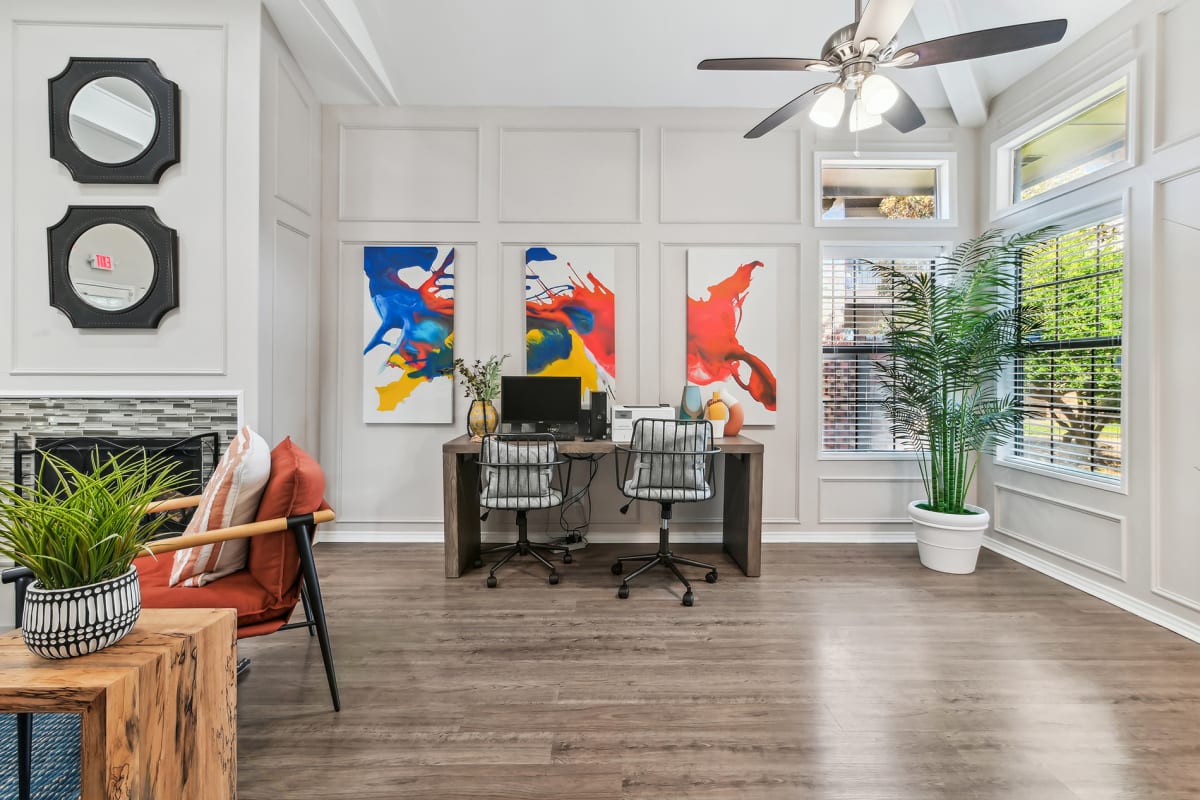
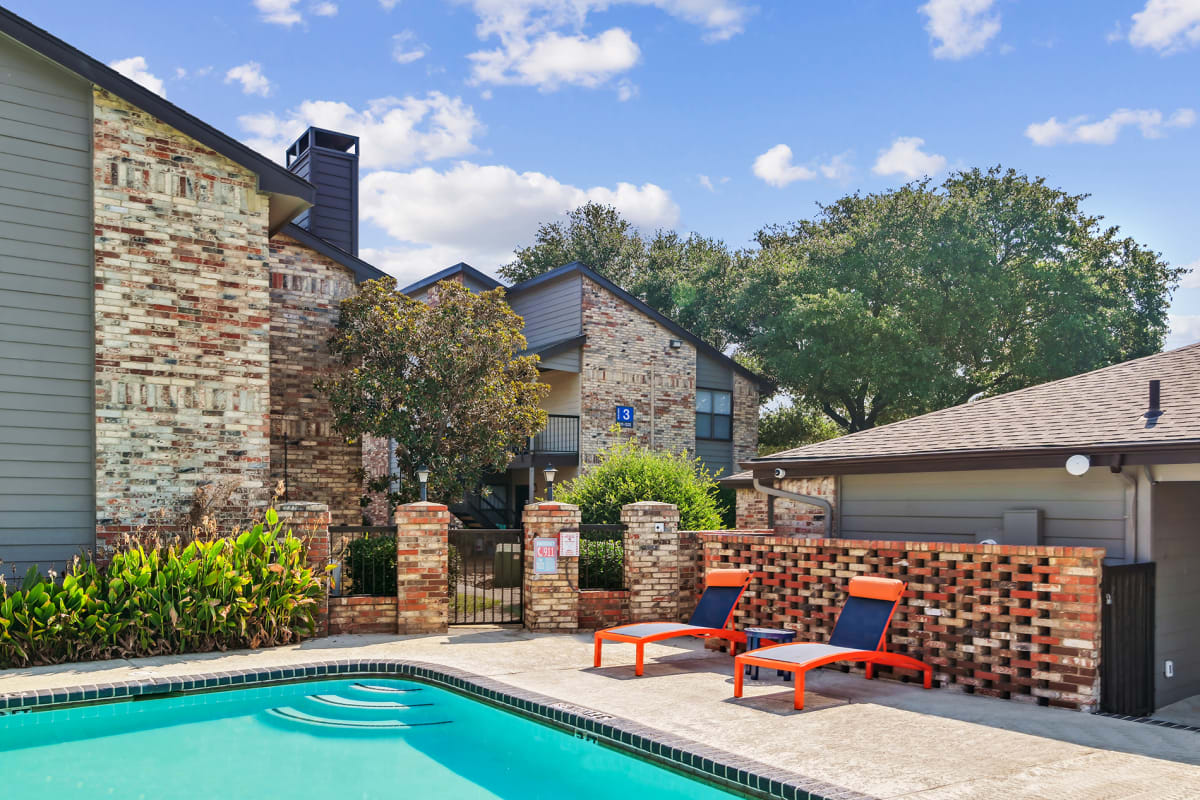
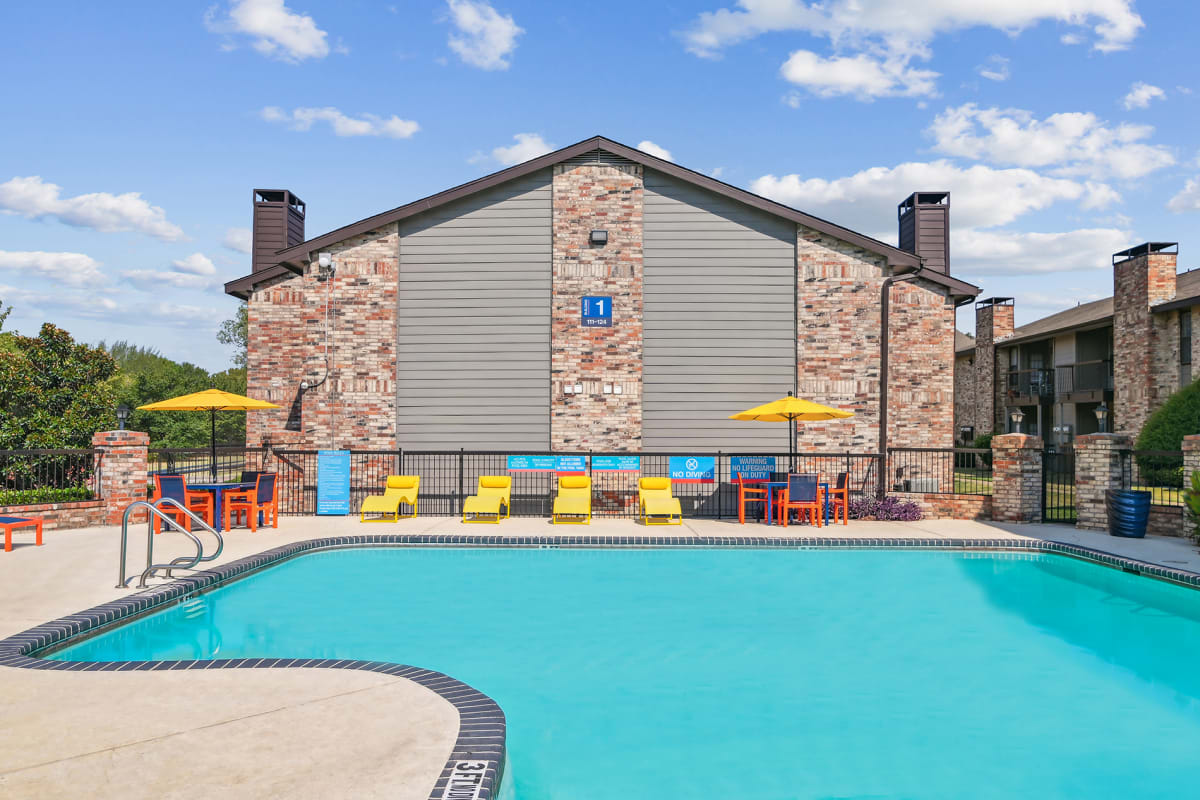
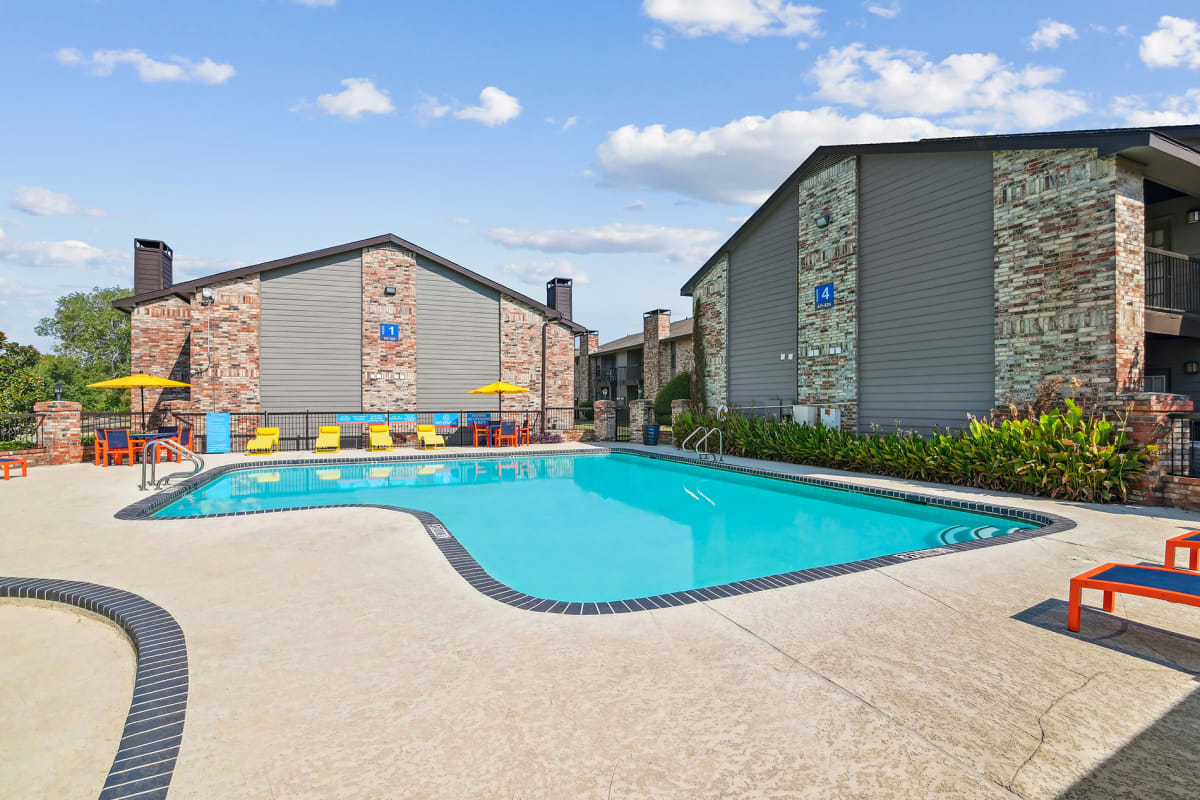
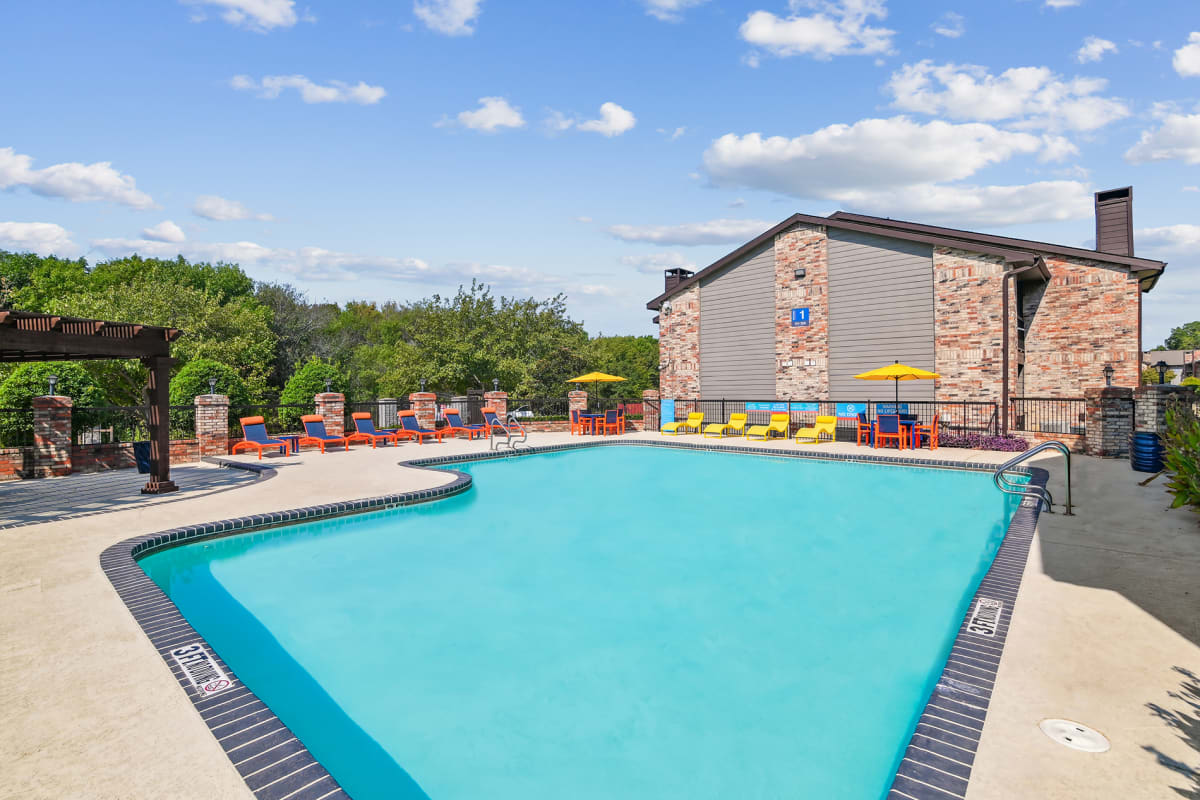
Explore the vibrant lifestyle waiting for you at Brighton Place Apartments through our stunning photo gallery. Our high-resolution apartments gallery invites you into a world of modern luxury and thoughtful design, where every detail is crafted for your ultimate comfort and convenience. Our Lewisville apartment buildings feature wonderful amenities. Picture yourself relaxing in the stylish resident lounge, staying fit in the state-of-the-art fitness center, or lounging by the sparkling pool on a sun-drenched patio.(+more)
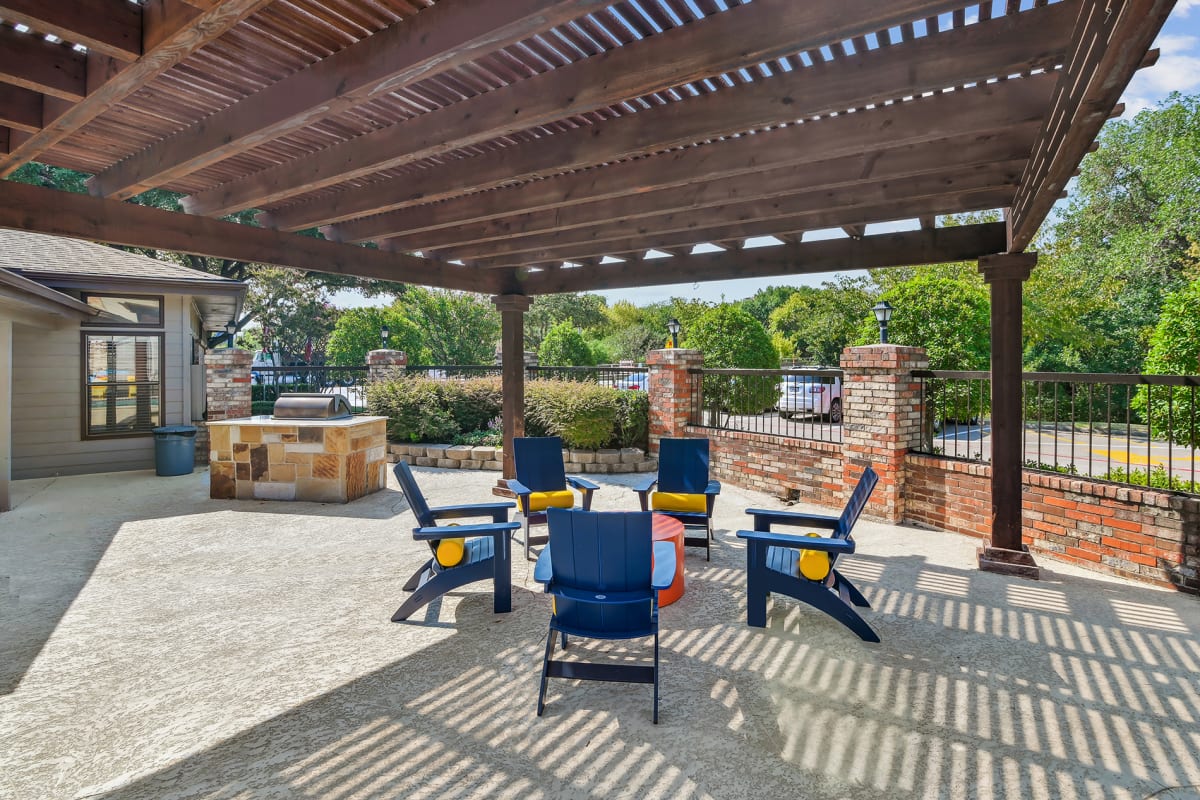
Imagine hosting friends for a meal at the poolside grill or cooking in your fully equipped kitchen, featuring modern finishes. Inside our modern apartment complex in Texas, sleek flooring and a cozy fireplace in the living room offer a welcoming atmosphere. With every photo, discover the inviting spaces that make our apartments to rent in Lewisville TX an extraordinary place to call home.
Ready to see it in person? Contact us to schedule your tour today!
Ready to see it in person? Contact us to schedule your tour today!